Getting started with TaxBloc
TaxBloc gets you from "I need 12 months of bank data for this client" to a categorised CSV in three steps. This walkthrough takes ~5 minutes and ends with a real export landing in your downloads folder.
Take the Quick start tour
The first time you sign in, the page dims and a blue ring lights up the next thing to do. The tour walks you through three steps in order, on the live UI — not screenshots — so the highlighted button is the actual button you'll click. Hit Next to advance to the next step, Back to revisit one, or Skip tour to dismiss.
The three steps are:
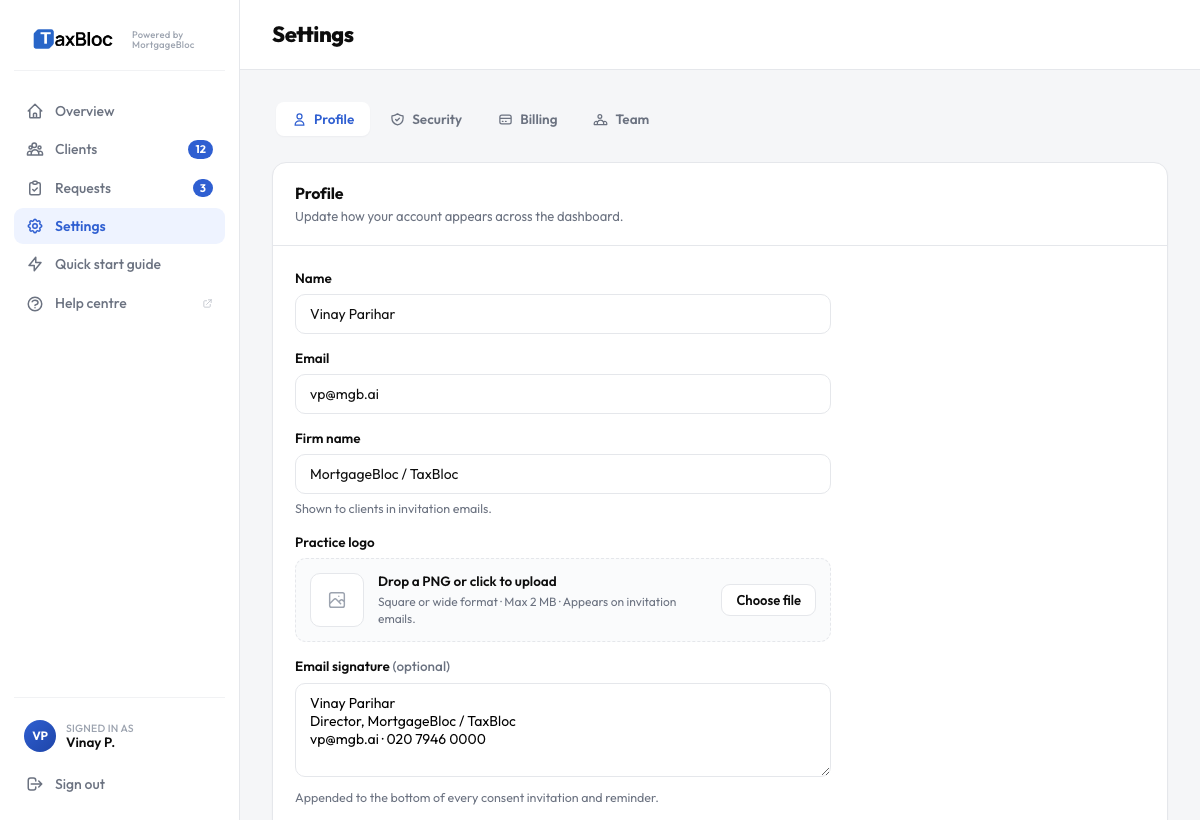
- Set your firm name — Settings → Profile. Clients see this in every invitation email.
- Import your clients — Clients → Import CSV. Upload a CSV of company numbers and emails; we validate each one against Companies House.
- Send a consent request — Overview → + Create request. Pick a client and a date range; the CSV lands here once they confirm.
Hit Got it on the last step and the tour is dismissed for good. You can re-open it any time from the Quick start link in the sidebar footer, alongside Help and your user card. When your first client actually confirms a request, you'll get a one-shot celebration moment as the CSV download appears — that's the natural fourth beat, no tour needed.
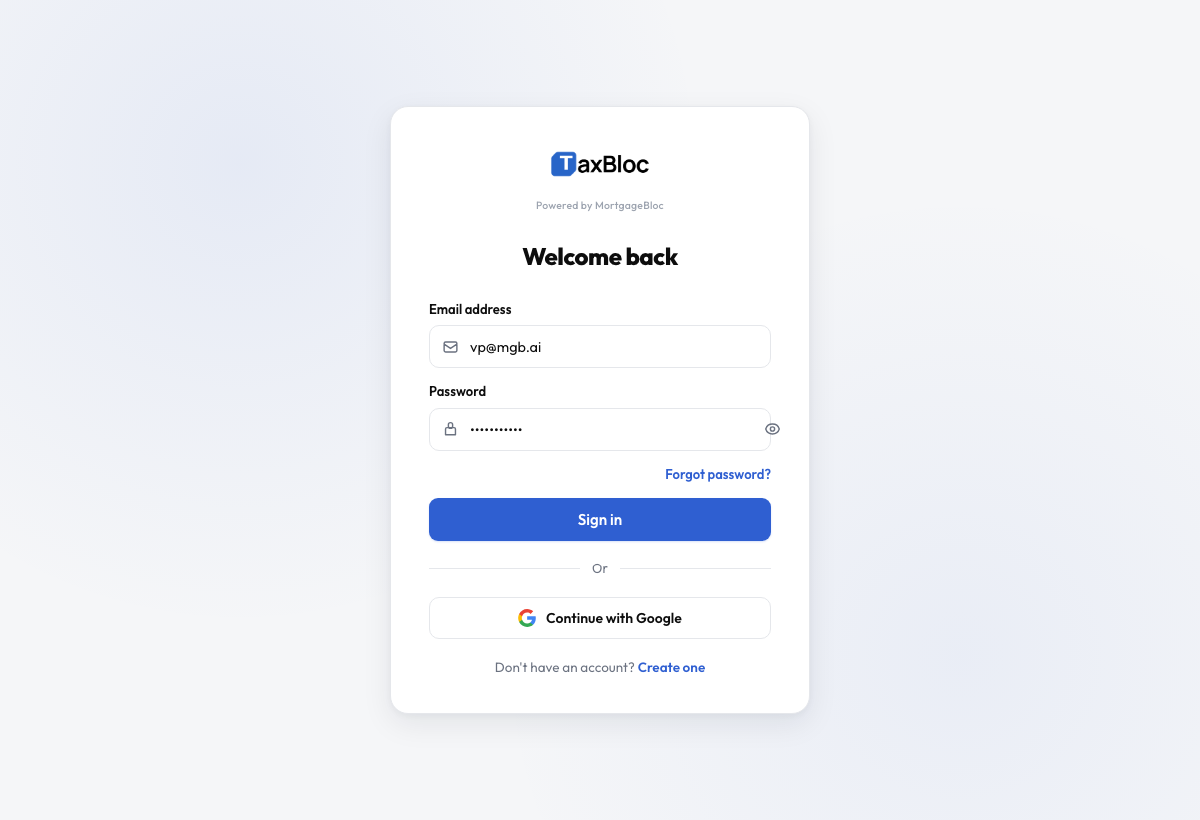
1. Sign in to your practice
Open app.taxbloc.ai and sign in with the email you used to register. Don't have an account yet? Sign up at taxbloc.ai/signup — Starter is £1,800/year for up to 20 clients, Practice is £6,000/year for up to 100. Cancel any time.
2. Land on the Overview
The Overview shows your headline numbers — clients connected, consent requests in flight, exports completed this month, and anything that needs attention.

3. Send your first consent request
Click + Create request in the top-right corner. The request form asks for four things:
- Client email — where the consent invitation will land. Make sure it's the person who actually has online banking access.
- Export type — pick the entity classification (Limited Company, LLP, Sole trader, etc). For Companies-House-registered entities, a live lookup will appear.
- Date range — the year-end on Companies House drives smart presets like "Last full financial year" and "Current quarter". Pick the one that matches the work you're doing.
- Personal note (optional) — a one-line note from you. Clients are 3× more likely to connect when the email sounds like it's from you, not a platform.
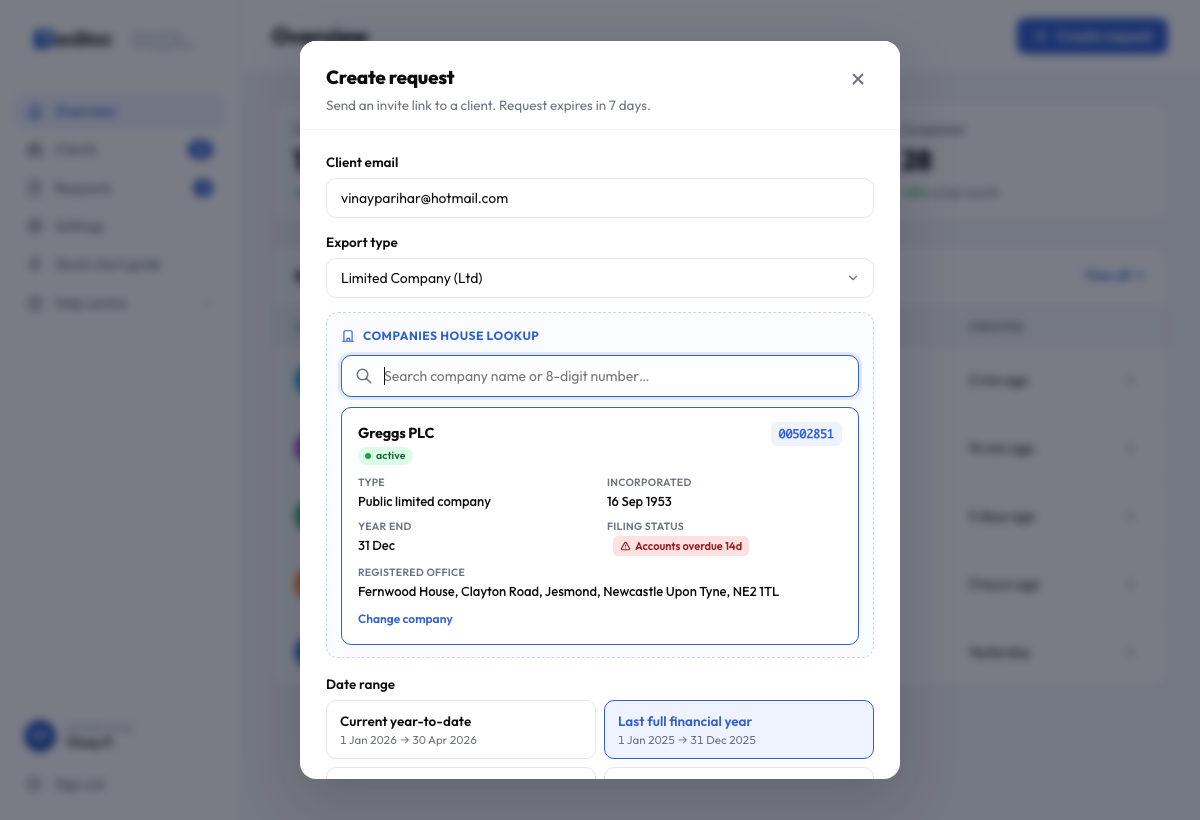
Hit Send request. Your client will receive an email with a one-tap consent link that expires in 7 days.
4. Wait for consent (usually under 2 minutes)
The client clicks the link, picks their bank, authenticates, and confirms — that's it. You'll see the request flip from Awaiting consent to Connected in your Requests page, and an export will be queued automatically for the date range you picked.
5. Download the CSV
Once the export completes, you'll get an email and the request will appear under Recent exports on the Overview. Click the row to download a categorised CSV ready for your bookkeeping tool or HMRC submission.
What to do next
- Add the rest of your clients — one at a time or via CSV bulk import.
- Learn the date-range presets — they save real time once you have 20+ clients.
- Re-running an export — re-pull a CSV any time consent is still active.